Preparing for your first trade show takes more than reserving booth space. This first-time exhibitor checklist explains how to plan your booth, organize marketing materials, prepare your team, and make the most of trade show booth rentals Orlando so you can attract qualified visitors and generate more business opportunities.
Your first trade show can open the door to new customers, partnerships, and long-term business growth. However, success depends on more than simply showing up. Every detail, from choosing the right booth to training your staff, plays a role in how visitors remember your brand.
If you’re exhibiting in Central Florida, selecting the right trade show booth rentals in Orlando is one of the first decisions you’ll make. A professionally designed booth helps your company stand out while saving time, reducing stress, and keeping your event on schedule.
Many first-time exhibitors focus only on booth graphics or giveaways. In reality, planning starts weeks before the event and continues even after the show ends. Having a clear checklist helps you stay organized, avoid costly mistakes, and spend more time talking with potential customers.
This guide walks you through every stage of the process so you can exhibit with confidence. Whether you’re attending a local expo or a large convention at the Orange County Convention Center, these practical tips will help you prepare for a successful event.
Why Preparation Matters for First-Time Exhibitors
Trade shows move quickly. Once the exhibit hall opens, there is little time to fix missing graphics, delayed shipments, or staffing issues. A solid plan helps you avoid these common problems before they happen.
Preparing early also helps you:
- Stay within your event budget.
- Keep your booth setup on schedule.
- Give visitors a better experience.
- Generate higher-quality leads.
- Reduce last-minute stress.
Companies that prepare in advance often spend more time connecting with attendees instead of solving unexpected problems.
Step 1: Define Your Trade Show Goals
Before choosing a booth design or printing marketing materials, decide what success looks like.
Ask yourself:
- Do you want to generate sales leads?
- Are you launching a new product?
- Do you want to build brand awareness?
- Are you meeting existing customers?
- Are you looking for distributors or business partners?
Clear goals help guide every decision throughout the planning process. They also make it easier to measure your return on investment after the event.
For example, a company introducing a new product may invest in live demonstrations, while another business focused on lead generation may prioritize meeting spaces and digital lead capture.
Step 2: Choose the Right Booth Size
Your booth should fit both your budget and your event goals. Bigger is not always better. The right size depends on your products, expected traffic, and the experience you want visitors to have.
Common booth sizes include:
| Booth Size | Best For |
|---|---|
| 10×10 | Startups, first-time exhibitors, small product displays |
| 10×20 | Product demonstrations and private conversations |
| 20×20 | Interactive displays, multiple meeting areas, larger teams |
| 30×30 | Product launches, large exhibits, high visitor traffic |
Working with an experienced Orlando exhibit rentals company can help you select the right booth size, and our guide on choosing the right trade show booth size explains which layout best fits your event goals and available space.
Step 3: Book Your Booth Early
Waiting until the last minute limits your options and may increase costs.
Booking your booth early gives you enough time to:
- Reserve a preferred booth location.
- Finalize booth graphics.
- Arrange shipping and installation.
- Schedule electrical and internet services.
- Review event deadlines.
Early planning also gives your design team time to make adjustments if needed before production begins.
Step 4: Plan Your Booth Design
Your booth should quickly communicate who you are and why visitors should stop.
Keep the design simple and easy to understand. People often decide within a few seconds whether to enter a booth.
Focus on these elements:
1. Clear Branding: Your company logo should be visible from multiple directions. Large, easy-to-read graphics help attendees recognize your business from across the exhibit hall.
2. Simple Messaging: Avoid filling every surface with text. A short headline explaining what you offer is usually more effective than long paragraphs.
3. Open Layout: Create enough space for visitors to enter comfortably without feeling crowded. Open booth designs naturally encourage conversations.
4. Product Displays: Highlight your most important products or services first. Visitors should immediately understand what your company provides.
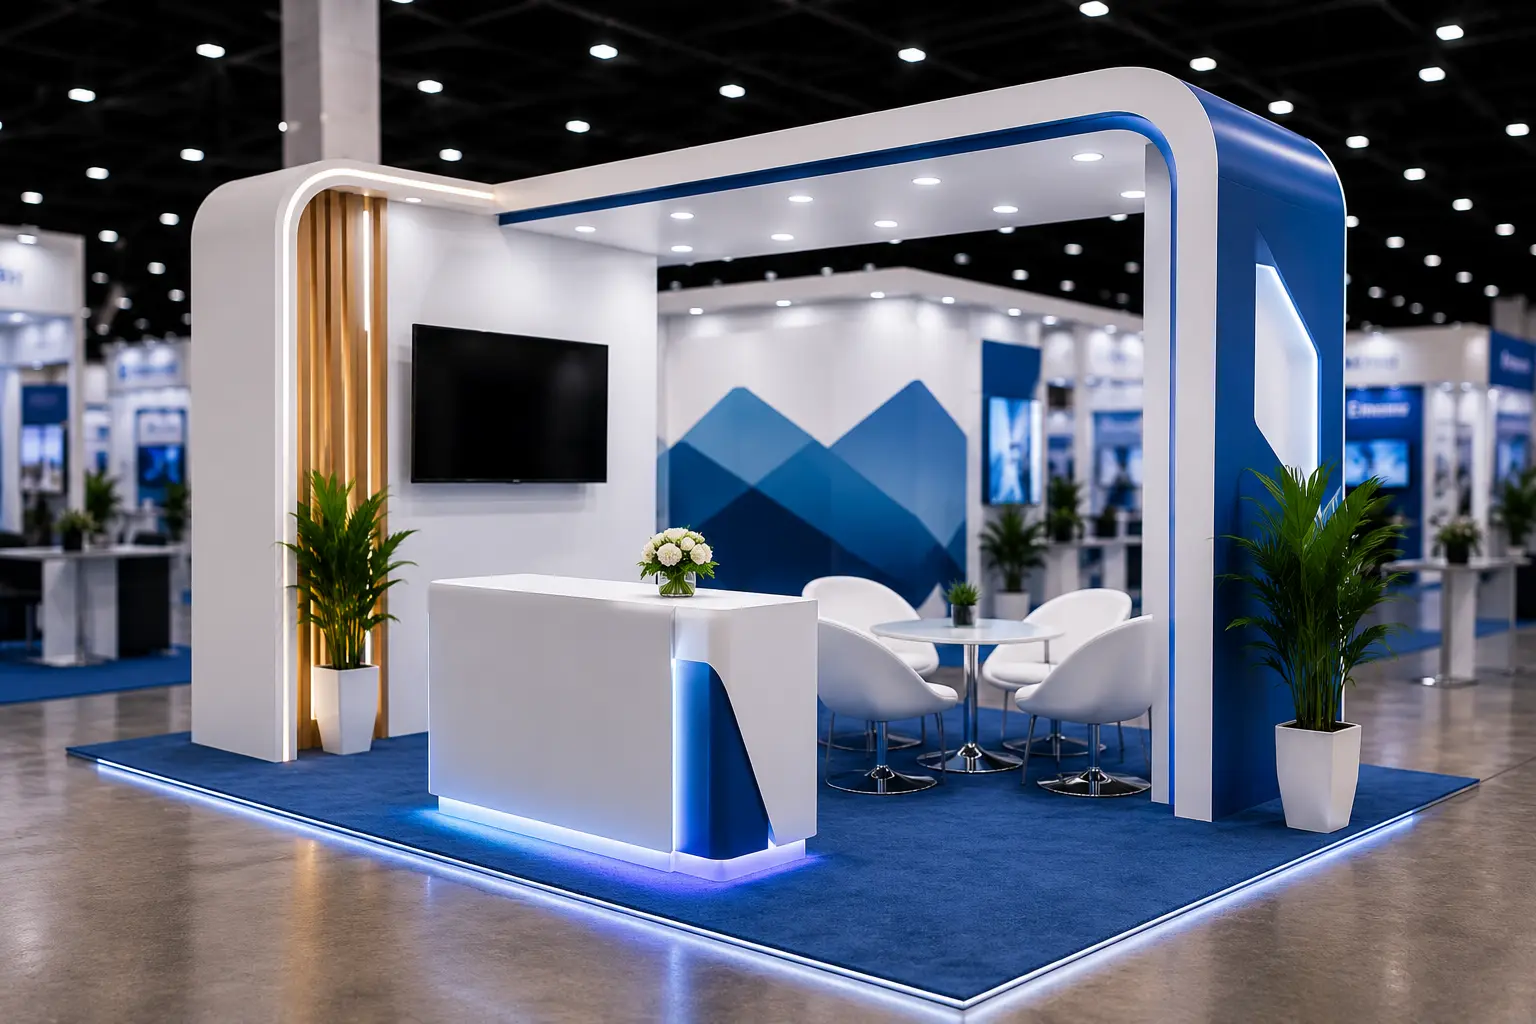
If you’re using a custom exhibit rental, make sure the layout supports demonstrations, meetings, and visitor flow without creating bottlenecks.
Step 5: Prepare Your Marketing Materials
Your booth attracts visitors, but your marketing materials help them remember your business after the event.
Consider preparing:
- Business cards
- Product brochures
- Sales sheets
- QR codes linking to landing pages
- Digital presentations
- Lead capture forms
Keep your messaging consistent across every printed and digital resource.
Instead of handing every visitor a large packet of information, focus on providing materials that answer their specific questions.
Step 6: Train Your Booth Staff
Even the best-looking booth won’t generate results if your team isn’t prepared.
Every staff member should know:
- Your company’s main products or services.
- How to qualify potential customers.
- How to start conversations naturally.
- How to collect accurate lead information.
- When to schedule follow-up meetings.
Visitors appreciate friendly conversations rather than aggressive sales pitches. Encourage your team to ask questions and listen carefully before presenting solutions.
Step 7: Promote Your Booth Before the Event
Trade show marketing starts before the exhibit hall opens. If attendees already know your company will be there, they’re more likely to visit your booth.
Announce your participation two to four weeks before the event through your website, email campaigns, and social media channels. Share your booth number, meeting availability, and any product demonstrations or giveaways you plan to offer.
If you’re meeting with existing customers, invite them to schedule appointments in advance. Having a calendar filled with meetings before the show begins helps maximize your time on the exhibit floor.
Step 8: Pack Everything You'll Need
The last thing you want is to discover missing items during setup. Using a complete trade show booth rental checklist before shipping your booth materials helps prevent costly last-minute surprises.
Include essentials such as:
- Booth graphics and signage
- Product samples
- Marketing brochures
- Business cards
- Chargers and extension cords
- Laptop or tablet
- Lead capture device or app
- Cleaning supplies
- Basic tool kit
- Water and snacks for your team
Review your checklist before materials leave your office. A few extra minutes of preparation can prevent expensive last-minute replacements.
Step 9: Make Every Visitor Interaction Count
Once the show opens, focus on creating meaningful conversations rather than collecting as many business cards as possible.
Welcome visitors with a simple greeting instead of immediately giving a sales presentation. Ask open-ended questions to understand their needs before explaining how your company can help.
Examples include:
- What brought you to the show today?
- What challenges are you trying to solve?
- Are you looking for a new supplier this year?
Listening first creates better conversations and helps you identify qualified prospects more quickly.
Keep your booth clean, organized, and staffed throughout the event. Avoid sitting, eating, or looking at your phone when attendees are nearby. A professional appearance encourages more people to stop and engage.
Step 10: Capture and Organize Your Leads
Generating leads is one of the main reasons companies invest in trade shows. However, collecting contact information is only the beginning.
Record notes immediately after each conversation while the details are still fresh. Include information such as:
- Products or services discussed
- Customer challenges
- Budget or purchasing timeline
- Next steps
- Follow-up priority
Organizing leads during the event makes post-show follow-up faster and more effective.
Step 11: Follow Up Quickly After the Show
Many exhibitors lose potential business because they wait too long to contact prospects.
Aim to reach out within three to five business days while attendees still remember your conversation.
Your follow-up email should:
- Thank the visitor for stopping by.
- Mention your discussion.
- Provide the information they requested.
- Suggest a meeting or phone call.
- Include a clear next step.
Prompt follow-up demonstrates professionalism and helps keep your company top of mind.
Final Thoughts
Your first trade show is an opportunity to introduce your business to new customers, strengthen existing relationships, and build long-term growth. Success doesn’t come from having the biggest booth, it comes from planning ahead, engaging visitors, and following up consistently.
Choosing the right trade show booth rentals provider can also make a significant difference. From booth design and installation to on-site support, experienced partners help reduce stress so you can focus on meeting potential customers.
At Orlando Exhibit Rentals, we help first-time and experienced exhibitors create professional booth experiences that attract visitors and support business goals. Whether you need a compact display or a larger custom exhibit rental, our team is ready to help you prepare for your next event.
Planning your next Orlando trade show? Contact Orlando Exhibit Rentals to discuss booth options and start preparing with confidence.
Frequently Asked Questions
When should I book a trade show booth rental in Orlando?
Book your booth rental as early as possible, ideally three to six months before the event. Early planning gives you better booth choices, more time for graphics, and fewer last-minute expenses.
What booth size is best for a first-time exhibitor?
A 10×10 booth is often the best starting point for first-time exhibitors. It provides enough space to display products, meet visitors, and manage costs while still creating a professional appearance.
What should I bring to a trade show besides marketing materials?
In addition to brochures and business cards, bring chargers, extension cords, product samples, cleaning supplies, a lead capture device, and a basic tool kit to handle minor setup issues during the event.
How can I generate more leads at a trade show?
Engage visitors with friendly conversations, ask questions about their needs, capture accurate contact information, and follow up within a few business days. Consistent follow-up often has the biggest impact on trade show results.
Why choose trade show booth rentals instead of buying a booth?
Renting a booth lowers upfront costs, reduces storage and maintenance responsibilities, and gives you the flexibility to choose different booth sizes or designs for each event, making it an excellent option for many exhibitors.
CONTACT US
AND AN EXHIBIT EXPERT WILL GET BACK TO YOU SHORTLY!
